

Find out how you can deploy easily your own LLM models from Hugging Face on AWS using AWS Sagemaker.
Introduction
In this blog post, we are going to deploy an open-source LLM, Mistral 7B, on AWS in literally 5 min using AWS Sagemaker and HuggingFace TGI. Mistral 7B is the smallest model from Mistral AI but it actually outperforms Llama2 13B on all benchmarks and is considered one of the current best model for this size.
Be sure to read our post on how to choose between deploying your own LLMs and using services like OpenAI before starting this tutorial. In many use cases, you do not need to deploy your own.
More precisely, you will learn in this post, to:
- Setup a Jupyter lab notebook to use AWS Sagemaker
- Deploy a Mistral 7B LLM model to a Sagemaker Endpoint
- Prompt the LLM in the Jupyter notebook
- Destroy the LLM endpoint (be very careful to not forget to delete this endpoint as it will cost 1,3 $ per hour)
You can find this tutorial code here. Don’t forget to star the repo if you like it.
Presentation
AWS SageMaker is a cloud service provided by AWS that helps users easily build, train, and deploy machine learning models. And coincidentally that can be used to deploy LLM models.
HuggingFace TGI (Text Generation Inference) is a high performance open source toolkit for deploying and serving Large Language Models (LLMs). It is simplifying the processing of serving an LLM model which is very tedious and allow users to just use their toolkit, as you will see it below.
JupyterLab is an interactive, web-based development environment that allows you to work with notebooks, code, data, and visualizations in a flexible and integrated manner. This will allow you to run a specific part of your code without launching everything from scratch.
Prerequisites
- A functional AWS account where you have admin permission (check this link)
- An AWS user setup on you laptop (check this link)
Initialize the Jupyter lab
Let’s create the Jupyter lab setup. We will use pipenv to create a virtualenv for this project. Creating a virtualenv is very important as it will make sure this project will run without harming your other ones.
Also please remember to always save your code using for example github.
Install pipenv
Let’s begin by installing pipenv which will handle virtualenvs and python packages for us ( there are a variety of other like poetry but more difficult):
pip install pipenvCreate a folder and add dependencies
Let’s create a folder that will contain the jupyter notebook:
mkdir deploy-llm-sagemaker-endpoint
cd deploy-llm-sagemaker-endpoint
And add all required dependencies. We will install jupyterlab which will allows us to launch a jupyter lab notebook and sagemaker which is the lib that will allow us to handle AWS sagemaker.
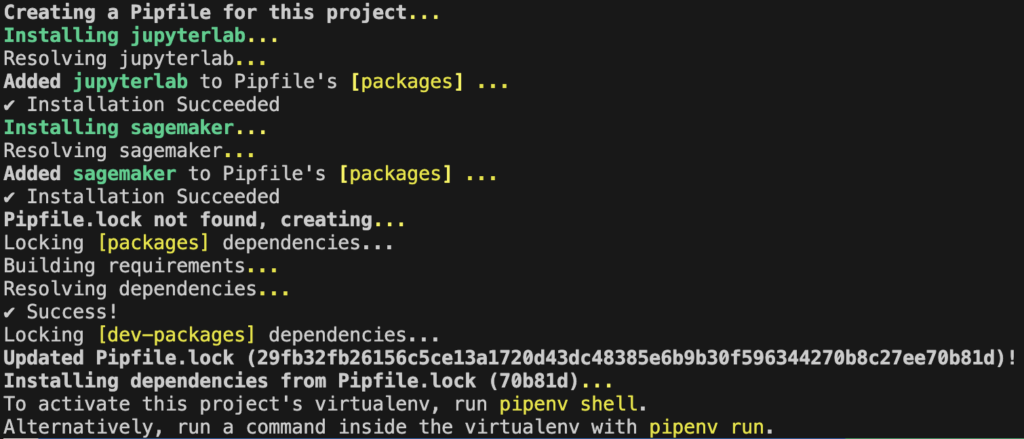
pipenv install jupyterlab sagemakerPipenv will then create a virtualenv and a Pipfile.lock that will contains all specific versions of your libraries. This is very important as libraries in python often change and breaks you whole project so it is better to freeze package versions like this. When adding new packages, it is best practices to add them using pipenv that directly in the notebook (like in some other blogs) as you will have all your packages defined in your project.
Launch jupyter lab
Let’s launch the jupyter lab then and create a notebook. The AWS_DEFAULT_REGION environement variable set the AWS region to use for the commands.
AWS_DEFAULT_REGION=eu-west-1 pipenv run jupyter labIf you have created an AWS profile when creating your AWS credentials, you can pass this profile like this (replace default by your profile name). By default the profile used is default.
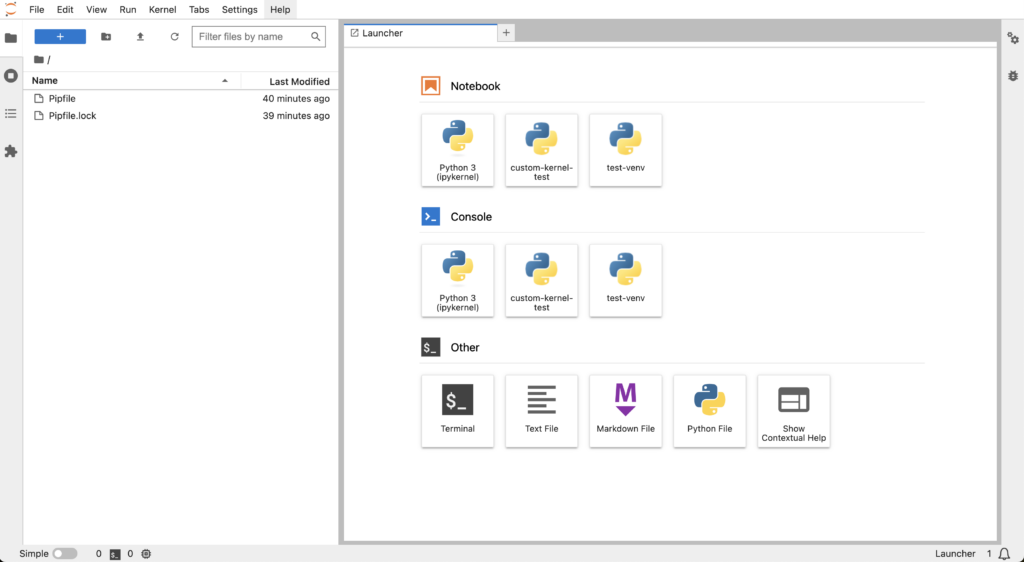
AWS_PROFILE=default AWS_DEFAULT_REGION=eu-west-1 pipenv run jupyter labYou will have the following screen. On this screen create a new notebook by clicking on the Python 3 button.
This will create an untitled notebook. Press Ctrl + s or (Cmd + s on Mac) to save it and rename it, for example deploy-llm-sagemaker.ipynb.
Deploy the LLM using Sagemaker endpoint
Prepare the notebook to create the endpoint
Now let’s add all the code of the first cell. This code will get the permission required to deploy the endpoints. To be precise, it will get the AWS role sagemaker_execution_role that will be used to create the endpoints (on AWS, a role is a way to handle permissions for different use cases).
import sagemaker
import boto3
sess = sagemaker.Session()

sagemaker_session_bucket=None
if sagemaker_session_bucket is None and sess is not None:
    # set to default bucket if a bucket name is not given
    sagemaker_session_bucket = sess.default_bucket()

try:
    role = sagemaker.get_execution_role()
except ValueError:
    iam = boto3.client('iam')
    role = iam.get_role(RoleName='sagemaker_execution_role')['Role']['Arn']

sess = sagemaker.Session(default_bucket=sagemaker_session_bucket)

print(f"sagemaker role arn: {role}")
print(f"sagemaker session region: {sess.boto_region_name}")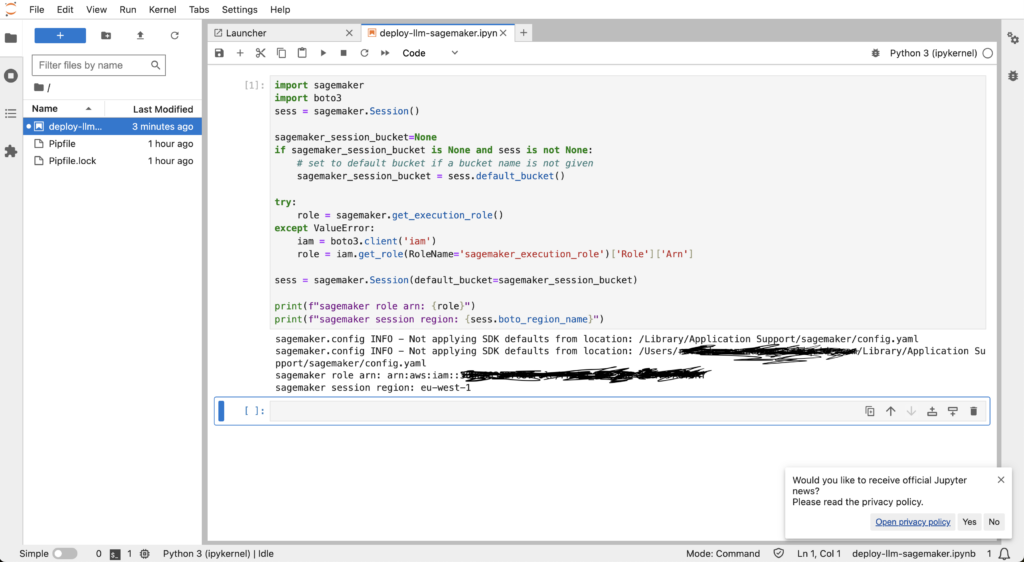
Deploy a sagemaker endpoint in the notebook
Let’s create a second cell and put some codes to get the path of the HuggingFace TGI image. This docker image contains everything needed to deploy our llm model without hassle. A docker image is a container where you can put all your dependencies so that you and other people do not need to re-install everything each time they want to use it (if you want more information on docker, check this link).
from sagemaker.huggingface import get_huggingface_llm_image_uri

# retrieve the llm image uri
llm_image = get_huggingface_llm_image_uri(
  "huggingface",
  version="1.4.2"
)

# print ecr image uri
print(f"llm image uri: {llm_image}")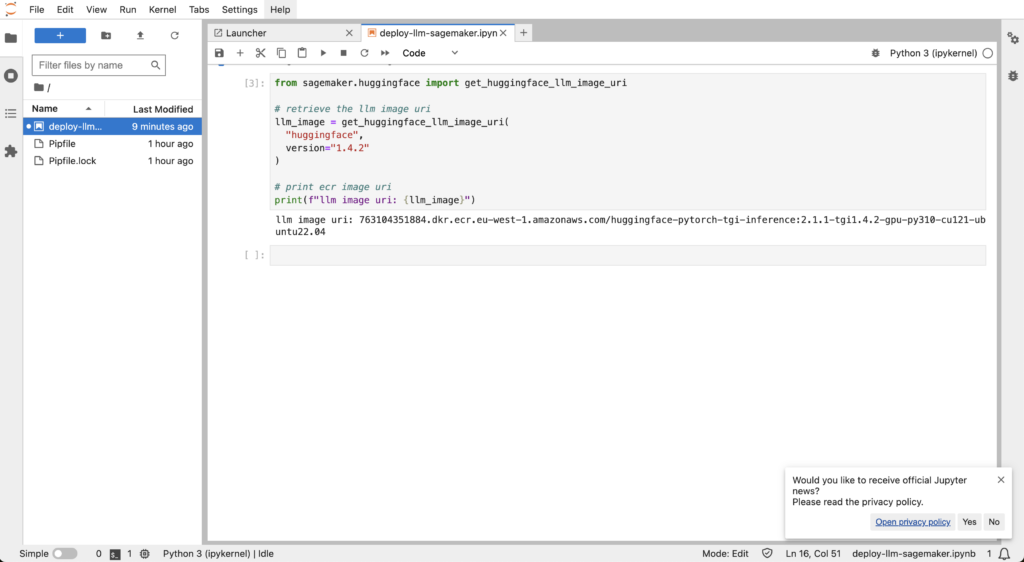
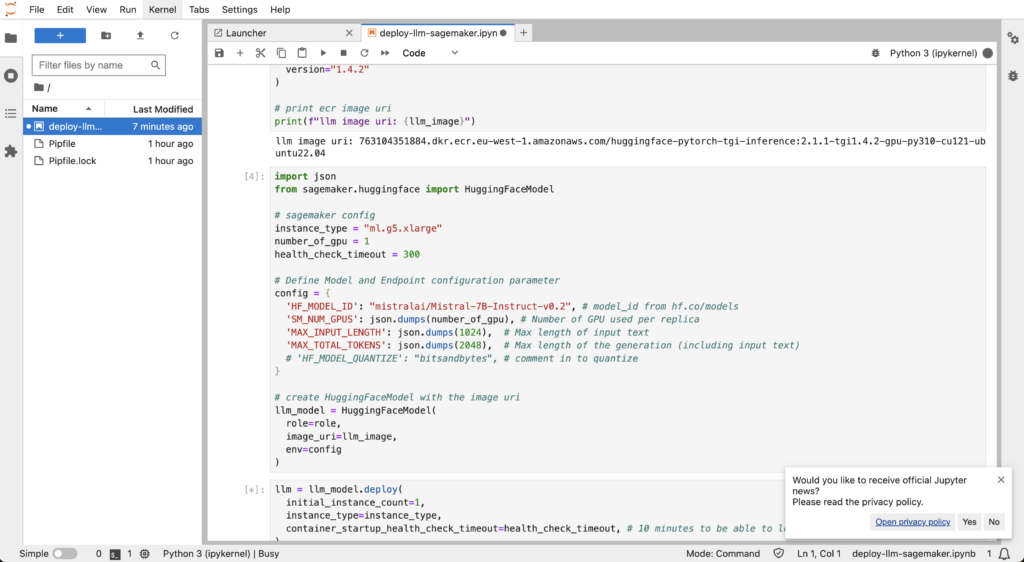
Now let’s add the code to set up the configuration to deploy a Mistral 7B as a sagemaker endpoint. You can use any image from hf.co/models that is compatible with HuggingFace TGI (see this link for compatible models).
As you can see here, we have set what is called instance_type to ml.g5.xlarge. This is the name of the type of instance (eg. computer) that will host the model (here’s the specs but it is equivalent o an Nvidia GPU A10 with 24GB of memory on the GPU).
We also set some environement variables to set the input and output length of the LLM. Mind you, this depends on the size of the instance and model you are using. You cannot have the same performance and output size as GPT4 with a 7B model (Check this link for more information on the TGI conf).
The parameter health_check_timeout is to tell sagemaker to check if the endpoint works only every 300 seconds or 5 min as this will be the time to deploy the model.
import json
from sagemaker.huggingface import HuggingFaceModel

# sagemaker config
instance_type = "ml.g5.xlarge"
number_of_gpu = 1
health_check_timeout = 300

# Define Model and Endpoint configuration parameter
config = {
  'HF_MODEL_ID': "mistralai/Mistral-7B-Instruct-v0.2", # model_id from hf.co/models
  'SM_NUM_GPUS': json.dumps(number_of_gpu), # Number of GPU used per replica
  'MAX_INPUT_LENGTH': json.dumps(1024),  # Max length of input text
  'MAX_TOTAL_TOKENS': json.dumps(2048),  # Max length of the generation (including input text)
  # 'HF_MODEL_QUANTIZE': "bitsandbytes", # comment in to quantize
}

# create HuggingFaceModel with the image uri
llm_model = HuggingFaceModel(
  role=role,
  image_uri=llm_image,
  env=config
)
Now let’s add the code to deploy the LLM endpoint:
llm = llm_model.deploy(
  initial_instance_count=1,
  instance_type=instance_type,
  container_startup_health_check_timeout=health_check_timeout, # 10 minutes to be able to load the model
)
Finally let’s deploy the endpoint and get a nice cup of coffee until the LLM is deployed:
llm = llm_model.deploy(
  initial_instance_count=1,
  instance_type=instance_type,
  container_startup_health_check_timeout=health_check_timeout,
)
Launch inference with your new shiny LLM endpoint
Let’s finally use our endpoint to ask a question to our LLM and enjoy the result of your hard work:
chat = llm.predict({
    "inputs": """Give me a joke about Sagemaker endpoints"""
})

print(chat[0]["generated_text"])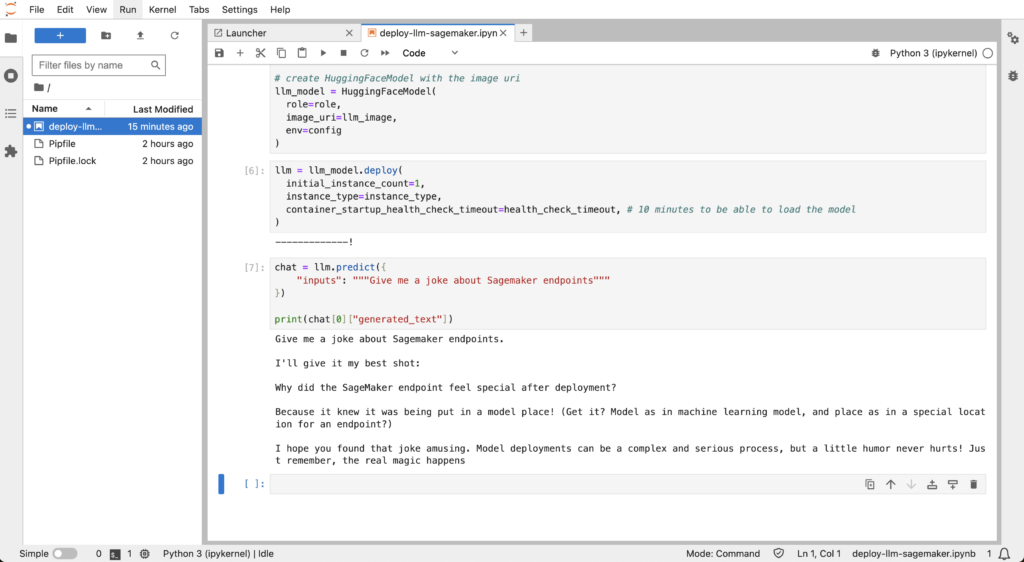
As you can see, you have your results and you can play with it as you want. It is this easy to deploy an LLM. But there are limitations about it that we will talk about afterwards.
You can use this endpoint easily with langchain for example (check this link) or directly as you saw with python and deploy your own web app.
Don’t forget to delete it in the next section as this endpoint is not cheap at all.
Delete your endpoint
You have deployed your instance and played with it as much as you wanted. Now is the time to say goodbye to the endpoint. Don’t forget to go to your AWS console and check manually that there is nothing anymore.
llm.delete_model()
llm.delete_endpoint()
Limits and best practices
Now that you saw the power of sagemaker endpoints, you feel like the world is yours. But I need to give you some advices on how all this fits.
The good
- Sagemaker endpoints is very good if you want to test a new shiny LLM
- It is very good to train yourself in how to deploy LLM and the inner working behind it
- It is very easy and fast so you can test many things with it
The bad
- It is limited to the size of the instance you give and so to your wallet
- For normal people, it is expensive so you should be careful when using it
- It cannot give the same level of service as a full fledged service like OpenAI. For example, if you do too much parallel queries, the endpoint will fail but a real service will handle the load.
Afterward
I hope this tutorial helped you and taught you many things. I will update this post with more nuggets from time to time. Don’t forget to check my other post as I write a lot of cool posts on practical stuff in AI.
Cheers!